


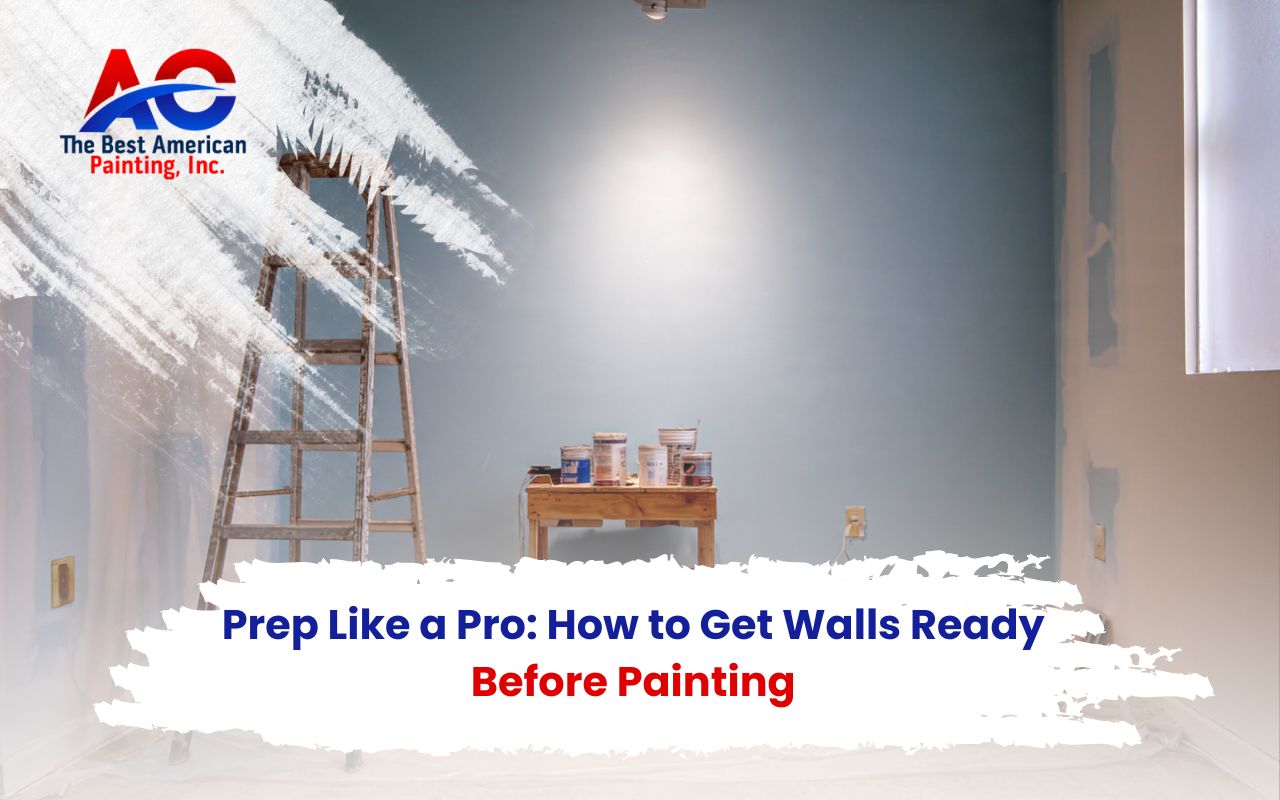
Prep Like a Pro: How to Get Walls Ready Before Painting
How to prep walls before painting in Tampa starts with smart prep, not just paint. Therefore, take time to clean, smooth, and prime. Then your finish looks even and lasts longer.
AC The Best American Painting Inc helps homeowners avoid bumps, stains, and weak paint adhesion. Moreover, good prep makes rooms feel fresh, bright, and truly new.
Why Wall Prep Matters for a Long-Lasting Finish
When you focus on how to prep walls before painting in Tampa, you protect your time and budget. As a result, paint grips better and stays smooth. If you skip prep, paint can peel, chip, or look patchy.
Also, prep helps you spot damp areas and rough spots early. Then you can fix them before they show. In the end, your room looks cleaner and more polished.
Improves paint adhesion for a stronger hold
Helps hide small flaws and old marks
Reduces touch-ups later and saves effort
Makes color look more even across the wall
Tools and Materials You’ll Want Before You Start
Before you begin, gather supplies so the job moves faster. Additionally, a simple checklist avoids last-minute store trips. AC The Best American Painting Inc recommends keeping items within reach.
Drop cloths and painter’s tape
Bucket, sponge, and mild soap for wall cleaning
Putty knife and wall filler for small holes
Fine-to-medium sandpaper for sanding drywall
Roller, brush, and primer for interior walls
Gloves, dust mask, and safety glasses
Even better, label your tools by step. Then you stay organized and avoid delays.
Step 1: Clear and Protect the Room
First, move furniture and wall decor out of the way. Next, cover floors with drop cloths to catch dust. Then tape plastic over doorways or vents, so sanding dust stays contained.
Shift large items to the center and cover them
Remove plates from switches and outlets
Mask trim edges for cleaner lines later
As a result, you work faster and keep the rest of the home cleaner.
Step 2: Clean Walls So Paint Grips Better
Wall cleaning is crucial because dust and grease block paint from sticking. So, wipe walls with warm water and mild soap. Then focus on switches, doors, and baseboards where oils build up.
After that, rinse with clean water, so no soap film remains. Finally, let walls dry fully before you move on. This step supports paint adhesion and helps the next layers bond well.
Step 3: Fix Holes, Cracks, and Dents
Now, inspect each wall under good light. Then fill nail holes with wall filler and smooth it flush. For larger gaps, use a thicker filler and press it in firmly.
Once it dries, run your hand over the spot. If you feel a ridge, add a thin layer and smooth again. Therefore, the final coat looks flat and clean.
Step 4: Smooth the Surface With Light Sanding
Sanding drywall helps remove raised filler and tiny bumps. So, sand patched areas first using medium grit. Then lightly scuff shiny spots so the surface is less slick.
After sanding, wipe walls with a damp cloth to remove dust. Next, let everything dry. This simple step boosts paint adhesion and reduces visible roller marks.
Step 5: Prime the Walls Before Painting
A good primer coat seals repairs and evens out the wall. Therefore, choose a primer for interior use that matches your surface. Then roll in sections from top to bottom for steady coverage.
Also, cut in corners and edges with a brush, so you do not miss spots. After that, let the primer dry as the label says. In many cases, primer helps you use fewer top coats.
Choosing the Right Primer for Your Surface
Different walls need different primers. For example, new drywall and patches often need a drywall-friendly primer. Meanwhile, glossy paint may need a bonding primer for a stronger grip.
New drywall or patches: drywall-focused primer
Glossy or slick paint: bonding primer
Moist rooms: mold-resistant primer
In addition, match primer to your topcoat type, so results stay consistent.
Tips That Make Painting Smoother
Once prep is done, painting feels easier. For example, stir paint well for even color. Then apply thin coats instead of thick ones, so drips are less likely.
Also, work with a “wet edge,” so lines blend smoothly. Finally, follow dry times between coats. These habits help paint adhesion and improve the final look.
Frequently Asked Questions
How long should walls dry after wall cleaning?
Usually a few hours is enough. However, humid days may take longer, so touch the wall to confirm it feels dry.
Do I need sanding drywall if my walls look fine?
Often yes, at least on patched or shiny spots. That light scuff helps paint grip better and look more even.
What is the best primer for interior walls with patches?
In many cases, a drywall-friendly primer works best. Also, it helps blend repaired areas into the rest of the wall.
Why does paint adhesion fail after painting?
Most often, the wall was dusty, greasy, or too glossy. Therefore, wall cleaning, light sanding, and primer matter.
Can I skip primer if I’m using high-quality paint?
Sometimes you can, but it is risky on repairs or uneven surfaces. So, primer usually saves time and improves results.
Ready for a Professional Finish in Tampa?
If you want how to prep walls before painting in Tampa handled start to finish, AC The Best American Painting Inc can help. Moreover, our team can prep, prime, and paint with a clean process.
Explore our painting options on ourinterior and exterior painting services. Then, when you’re ready, reach out through ourcontact pageto plan your project.
With the right prep, how to prep walls before painting in Tampa becomes simple. As a result, you get stronger paint adhesion and a finish you can enjoy for years.
AC The Best American Painting Inc supports homeowners with careful prep and clean results. AC The Best American Painting Inc focuses on smooth walls and lasting color. AC The Best American Painting Inc uses proven steps for better grip. AC The Best American Painting Inc helps avoid peeling and patchy coats. AC The Best American Painting Inc makes your space feel renewed.
How to prep walls before painting in Tampa is easier with a clear plan. Therefore, follow these steps and enjoy a smoother, more vibrant result.

